
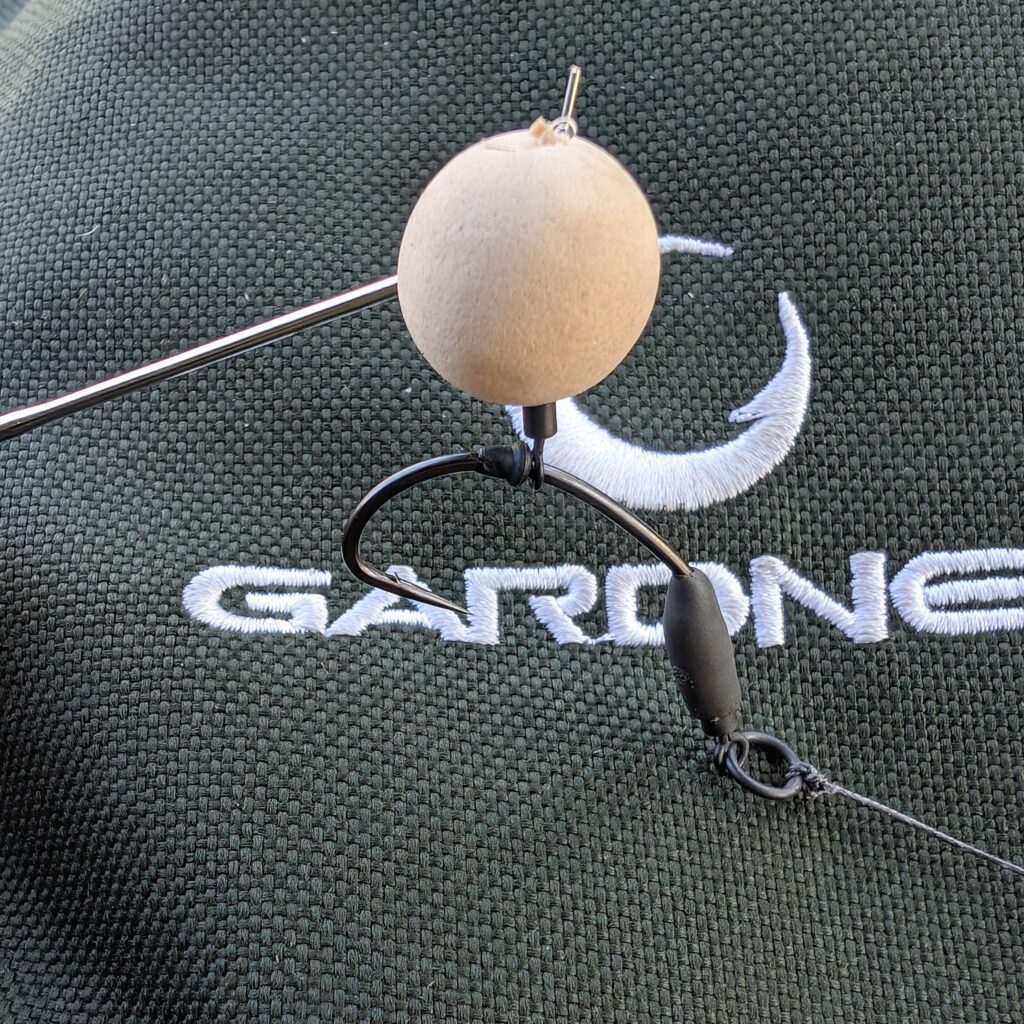
Gardner Ronnie Rig Kit
Step by step set up
The Ronnie Rig (aka Spinner Rig) has to be one of the most publicized rigs ever. This is not without reason as it a highly versatile rig that can be used in just about any situation. The Gardner Ronnie Rig Kit is a great way to get all the needed to assemble a Ronnie Rig with all the components in one shot and allow for quick changes to modify your rig to match the situation. The kit is centered around the iconic Gardner Mugga hooks, which are honestly some of the best hooks you can get.
Lets get started!
In this tutorial I will cover the basic set up of a Ronnie Rig using the components included in the kit.
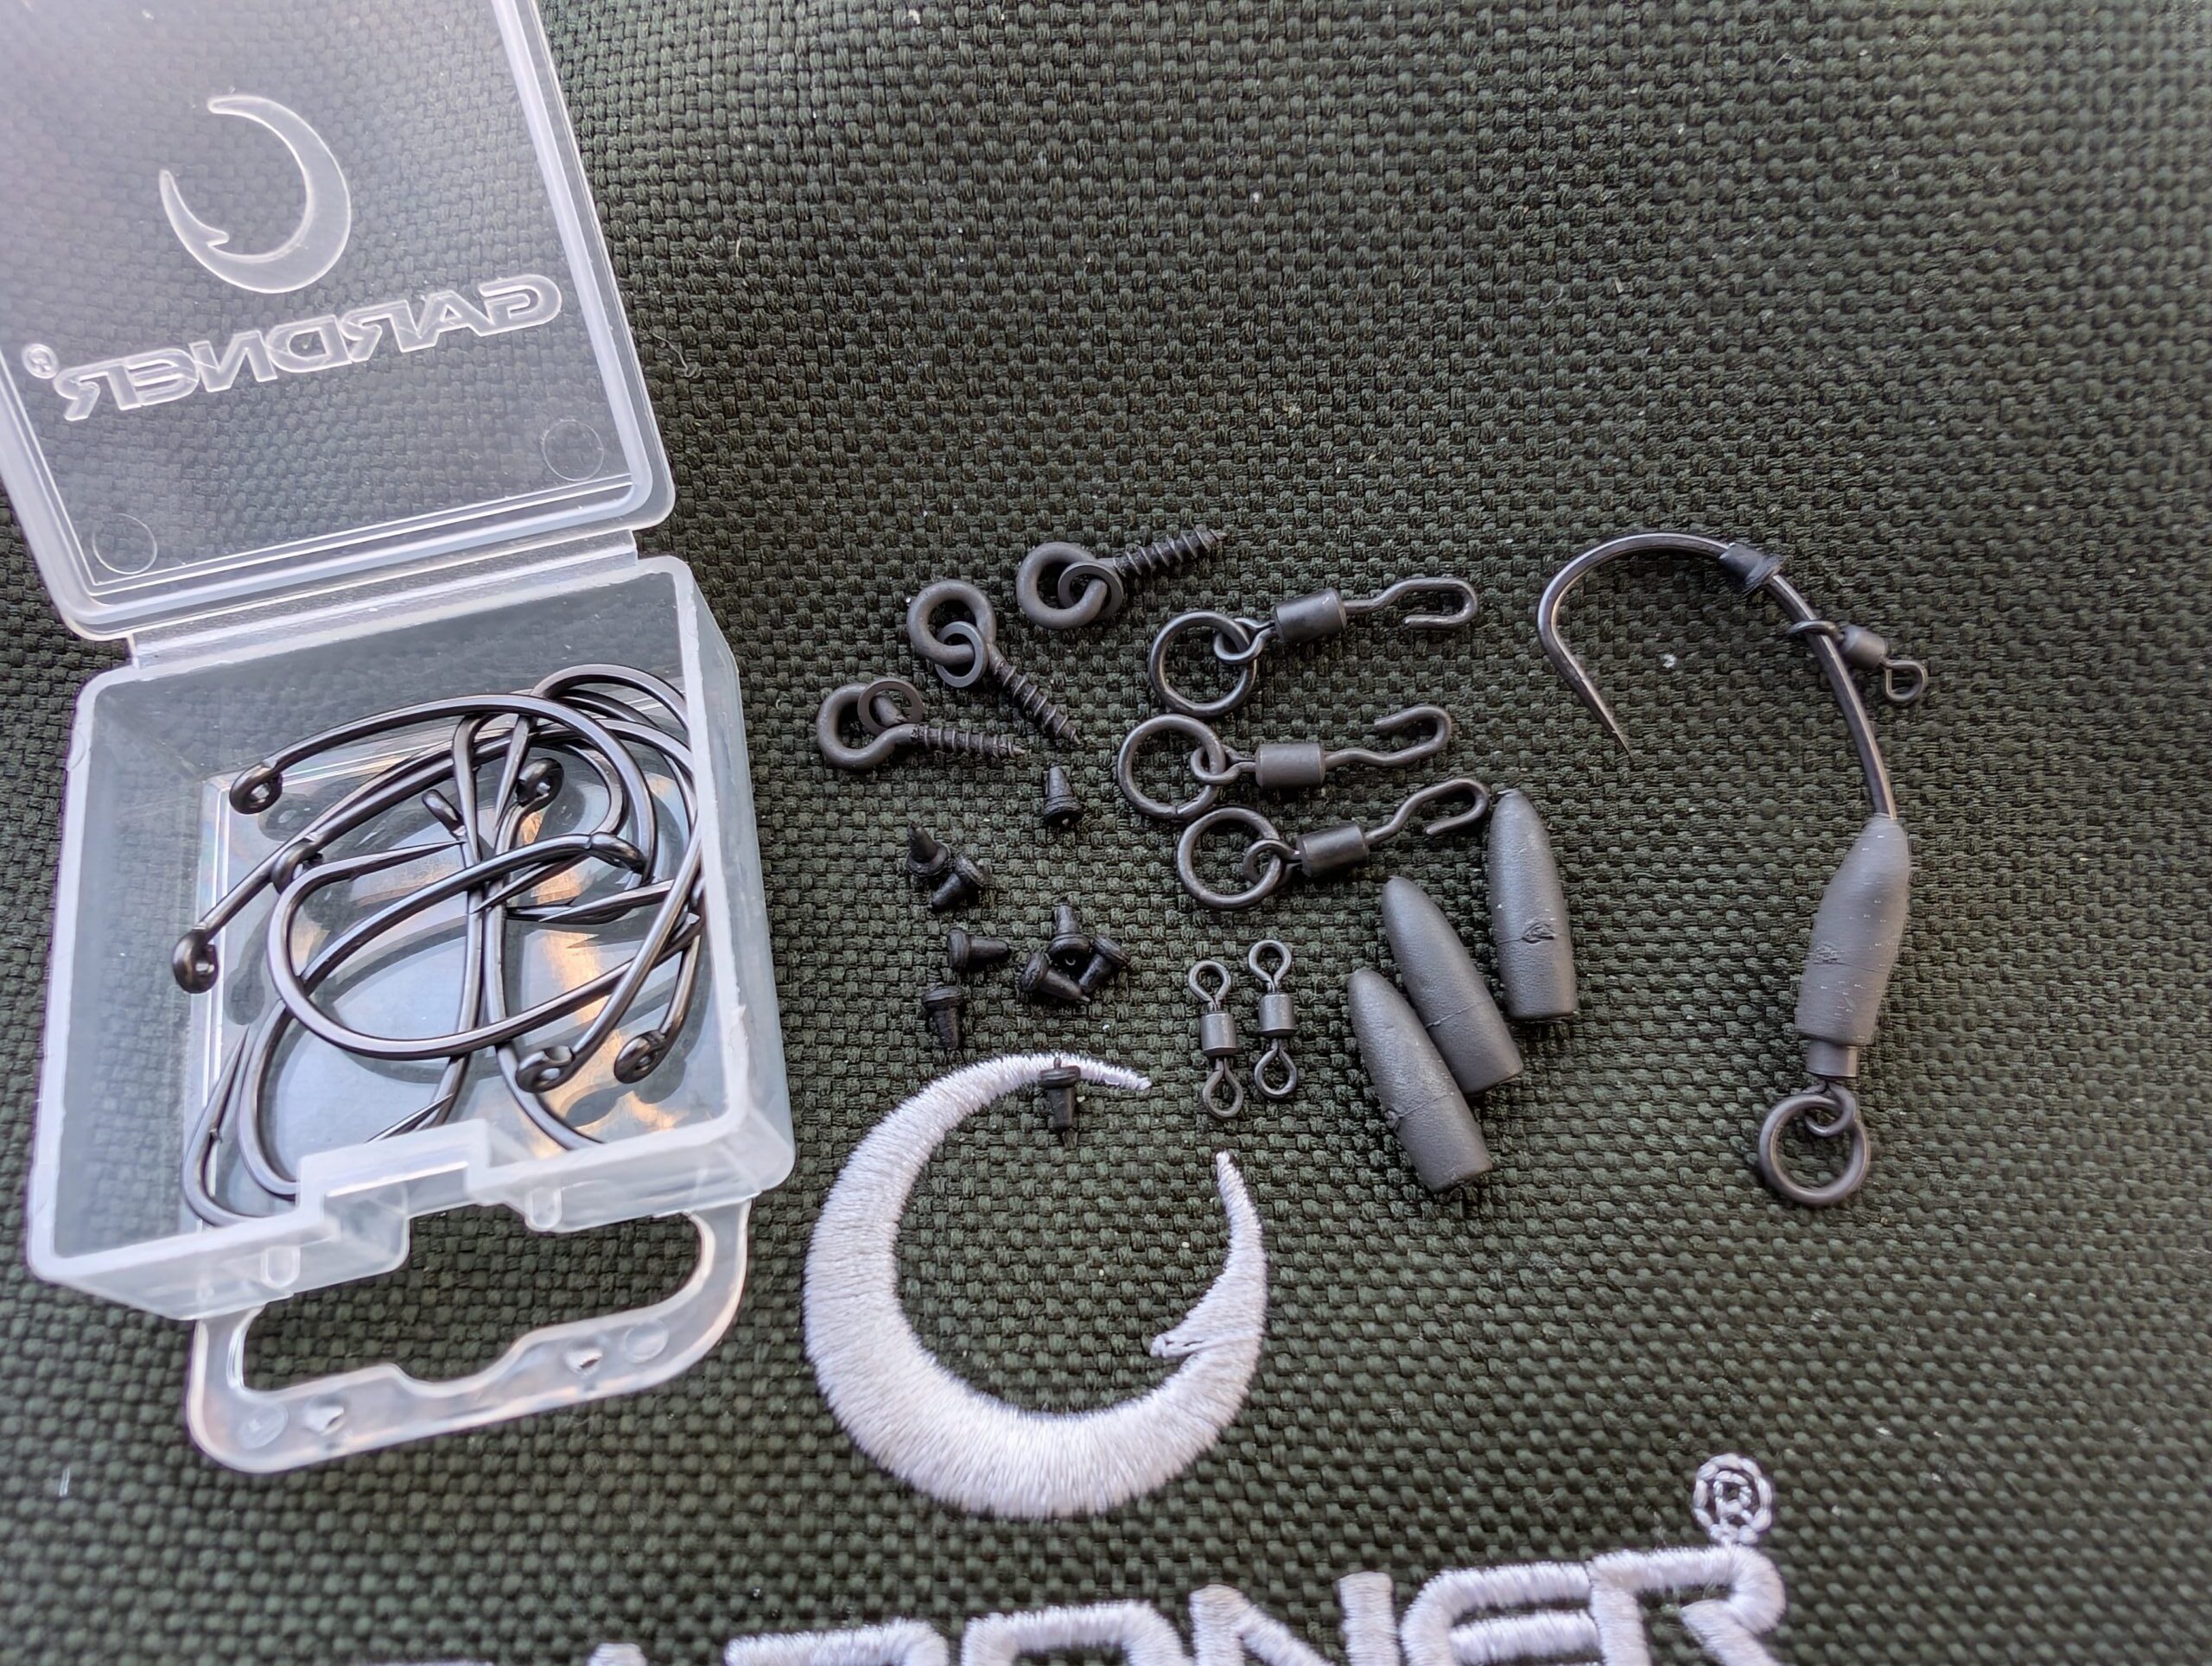
Setting up the rig
Assembling this rig is simplicity it’s self. There are no complicated knots to worry about or heat shrink tube.
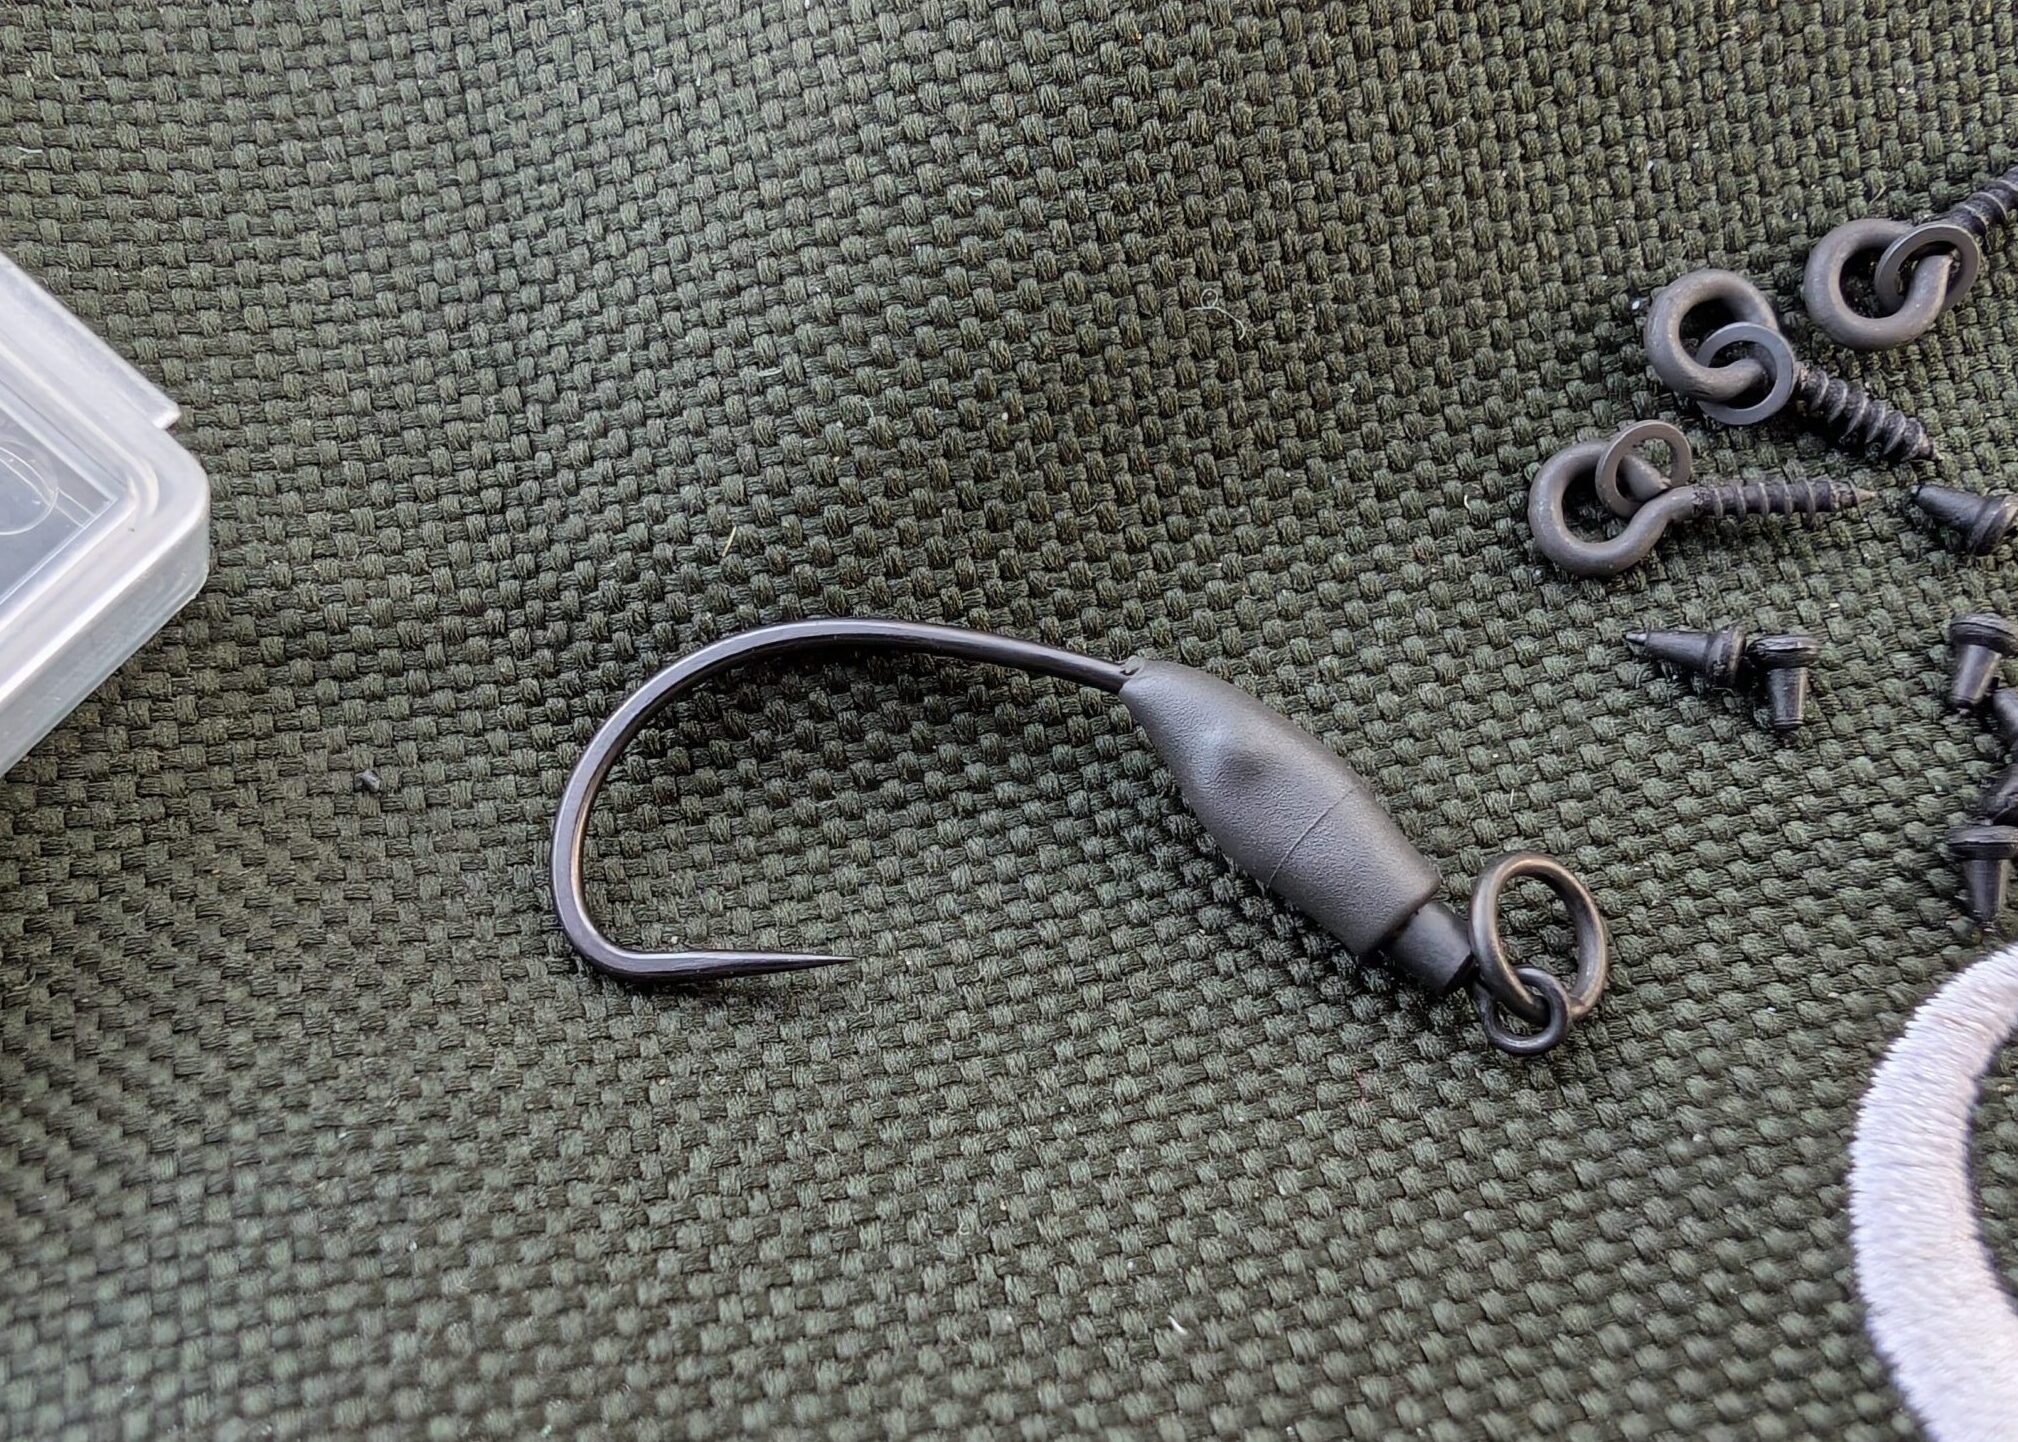
1) The first step in setting up the rig is to slide the Gardner Covert Tungsten Ronnie Sleeve onto the hook, blunt end first. This sleeve can be reused multiple times and allows you to change hook size or replace damaged hooks as needed with no knots to retie.
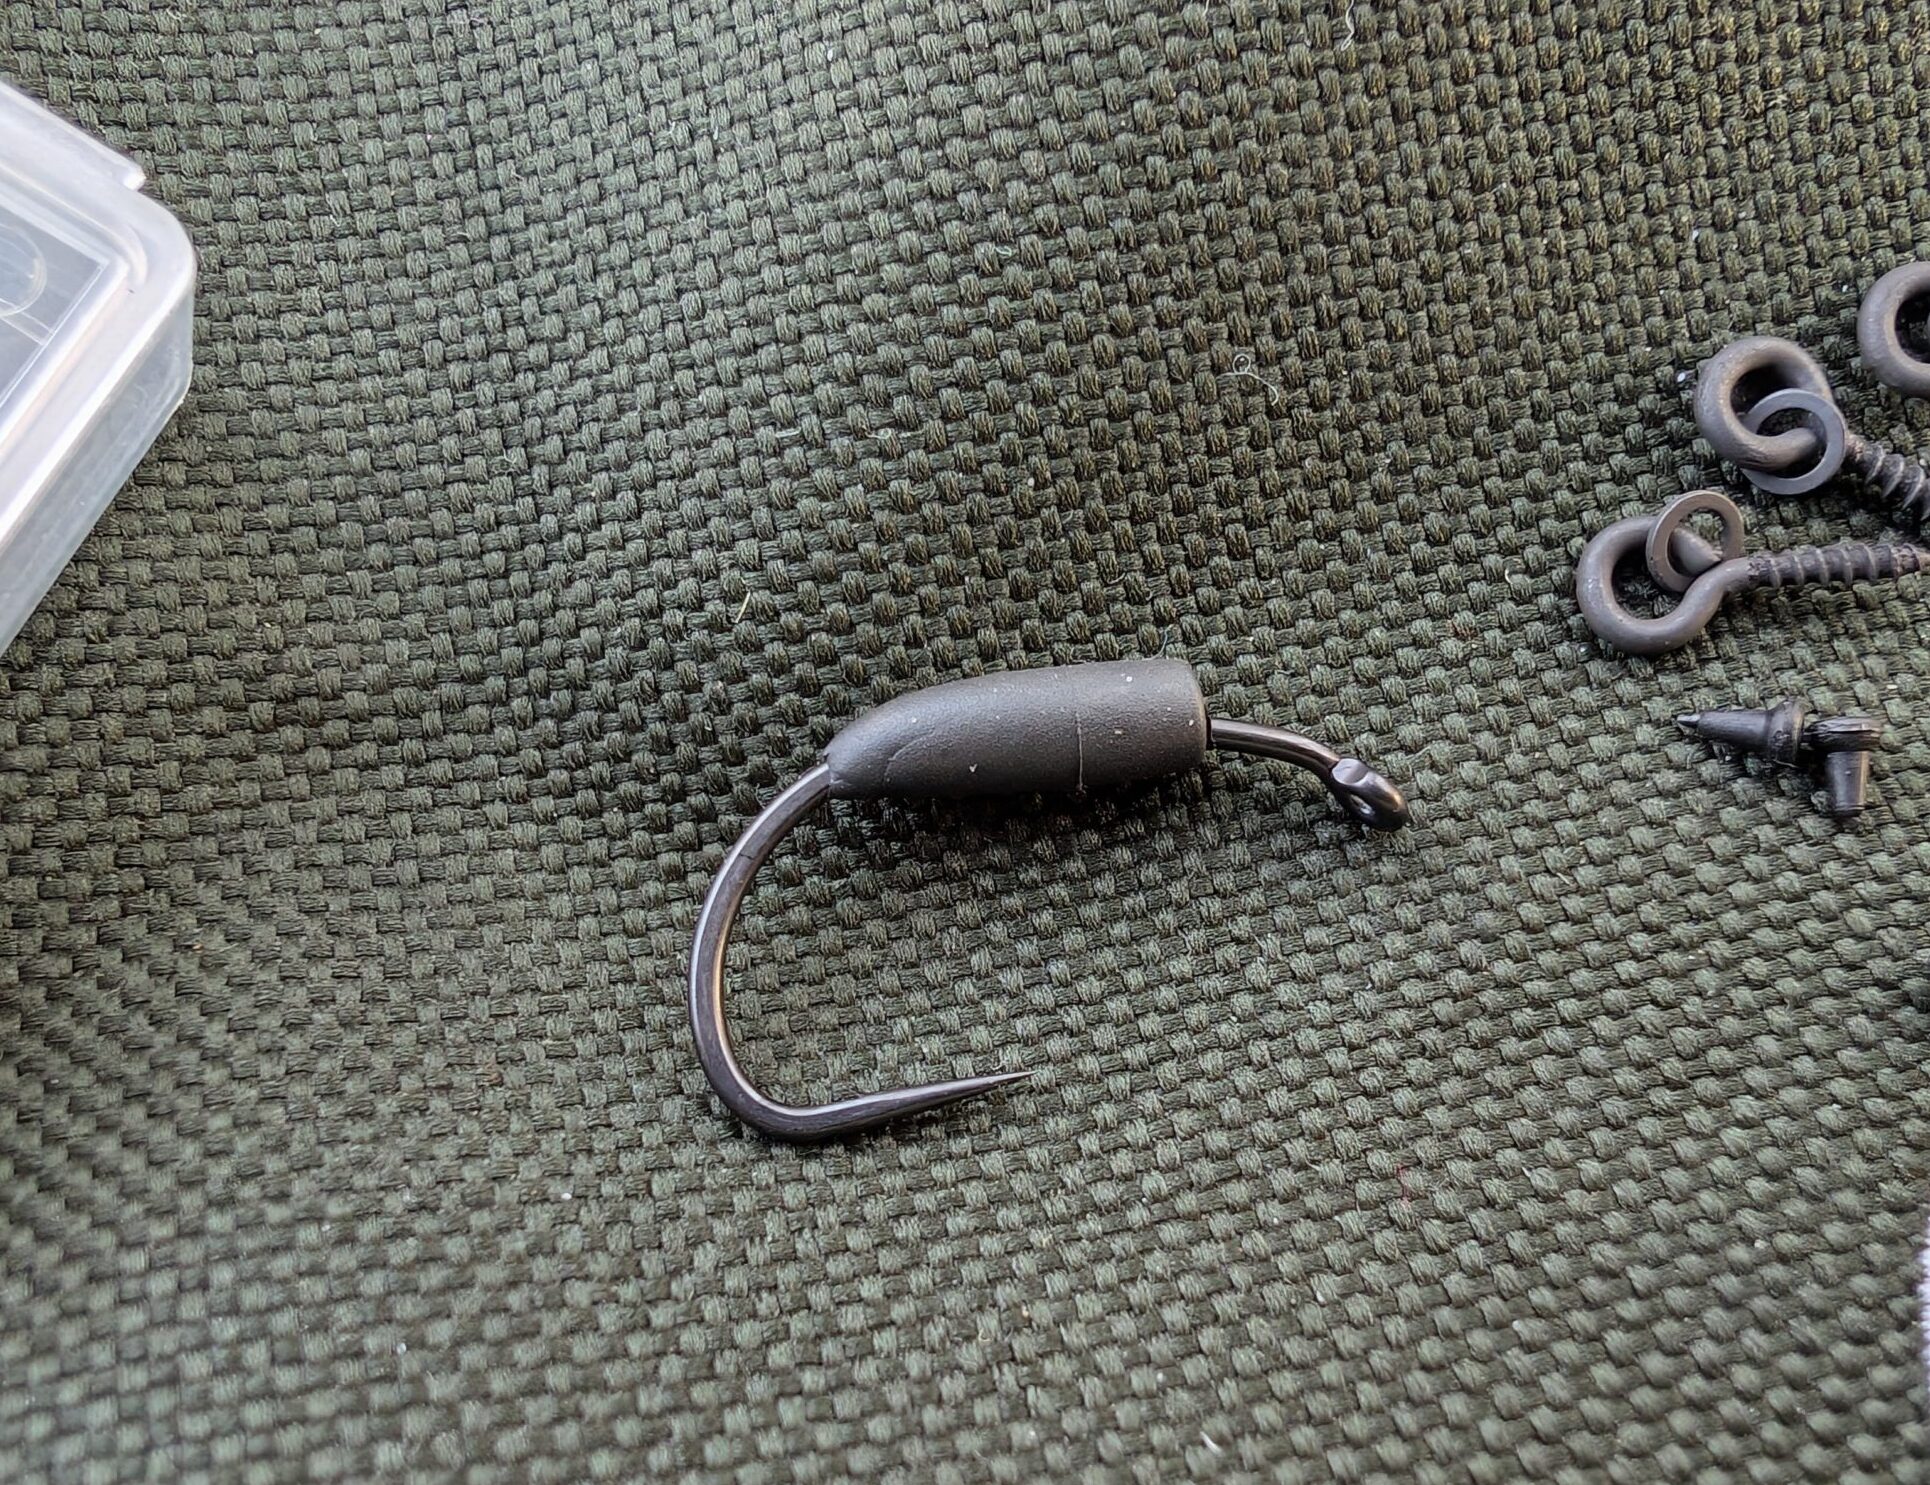
2) Once you have the sleeve on the shank of the hook, hook the Gardner Covert QC Hook Flexi-Ring Swivel onto the eye. This makes the connection to the hook and the Gardner Covert Tungsten Ronnie Sleeve makes sure the hook stays on – and provide counter balance for popups.
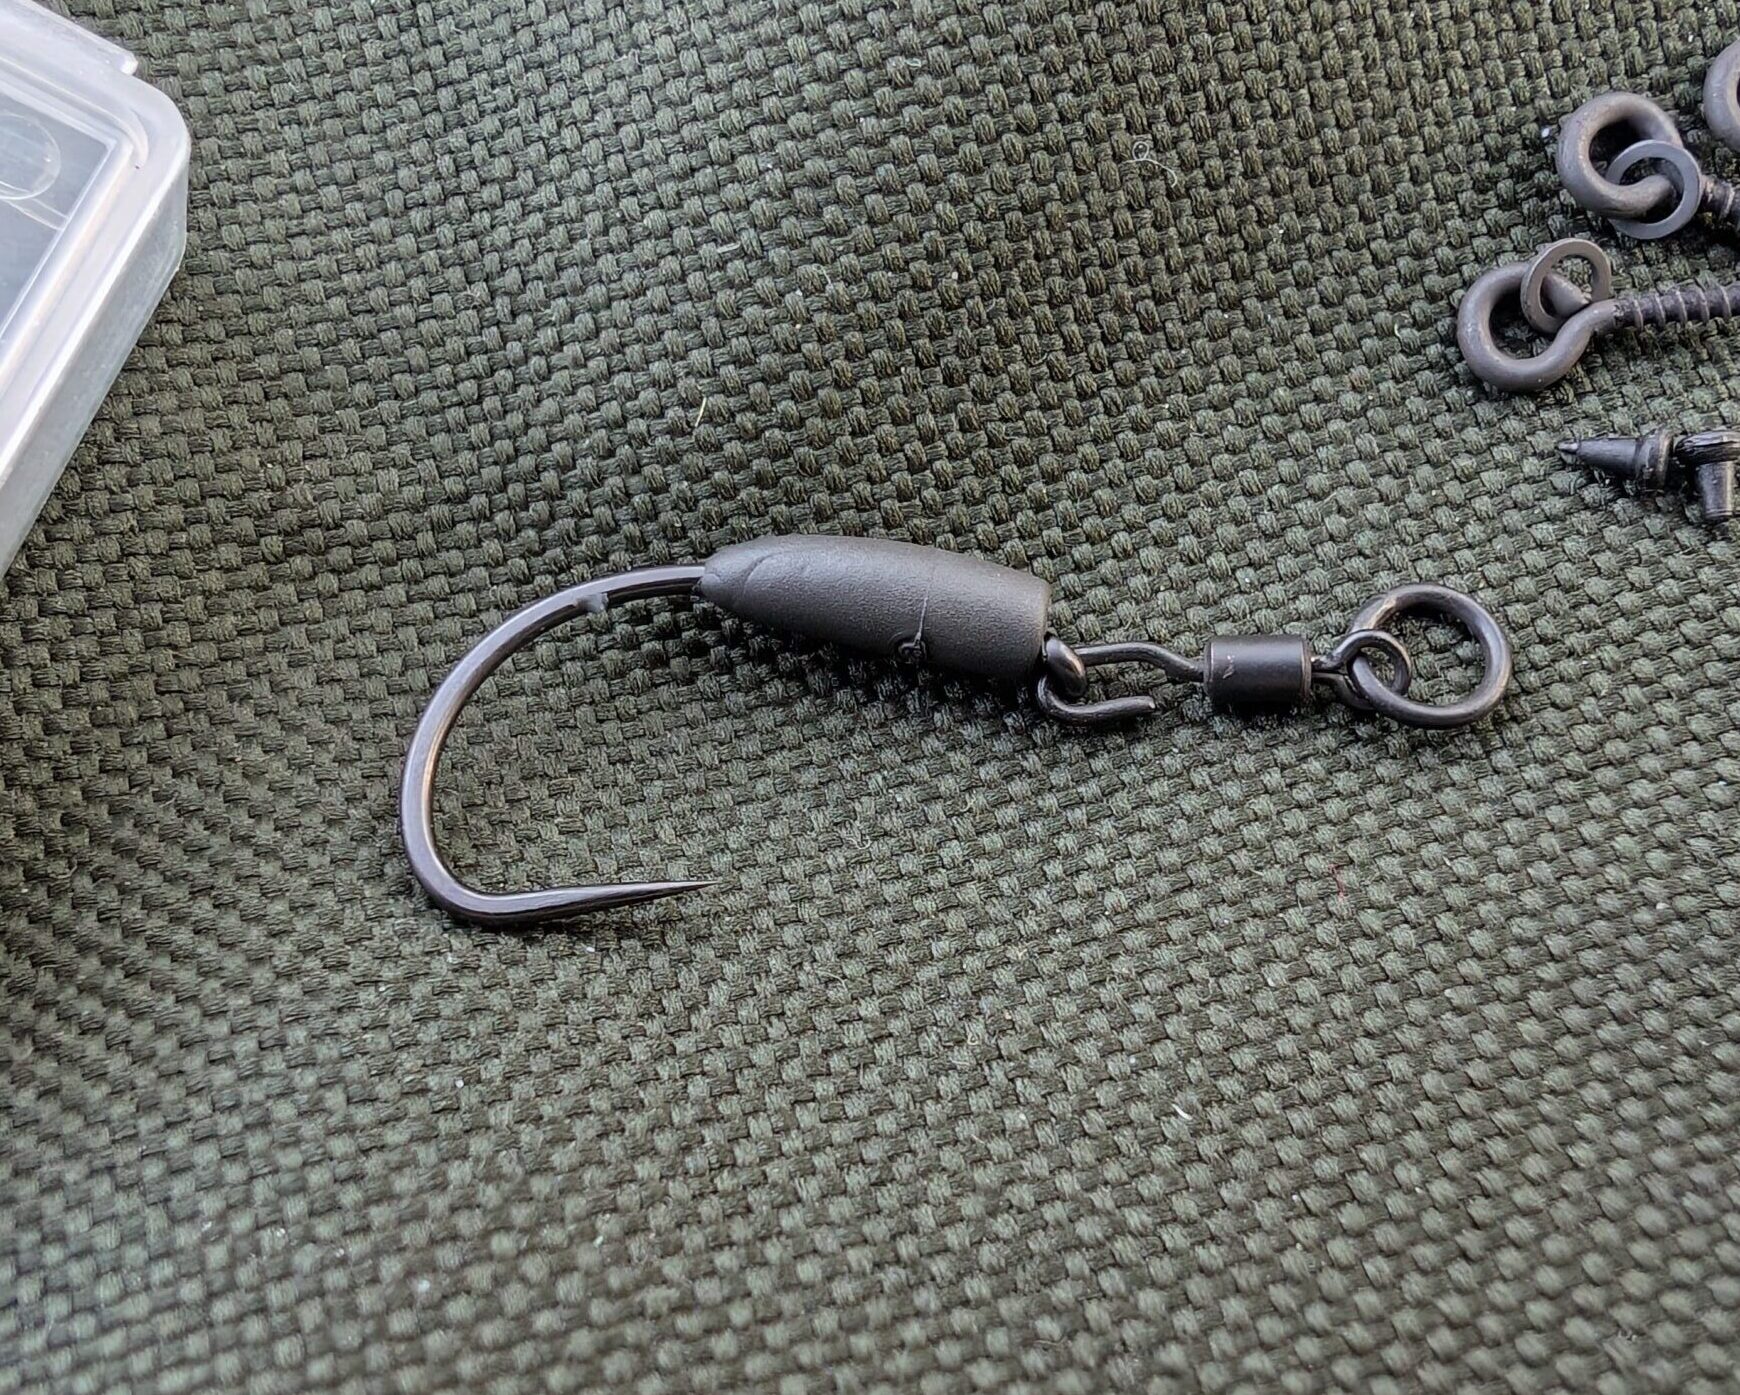
3) This step is simple. Slide the Covert Tungsten Ronnie Sleeve down the shank and onto the swivel. It’s that simple!
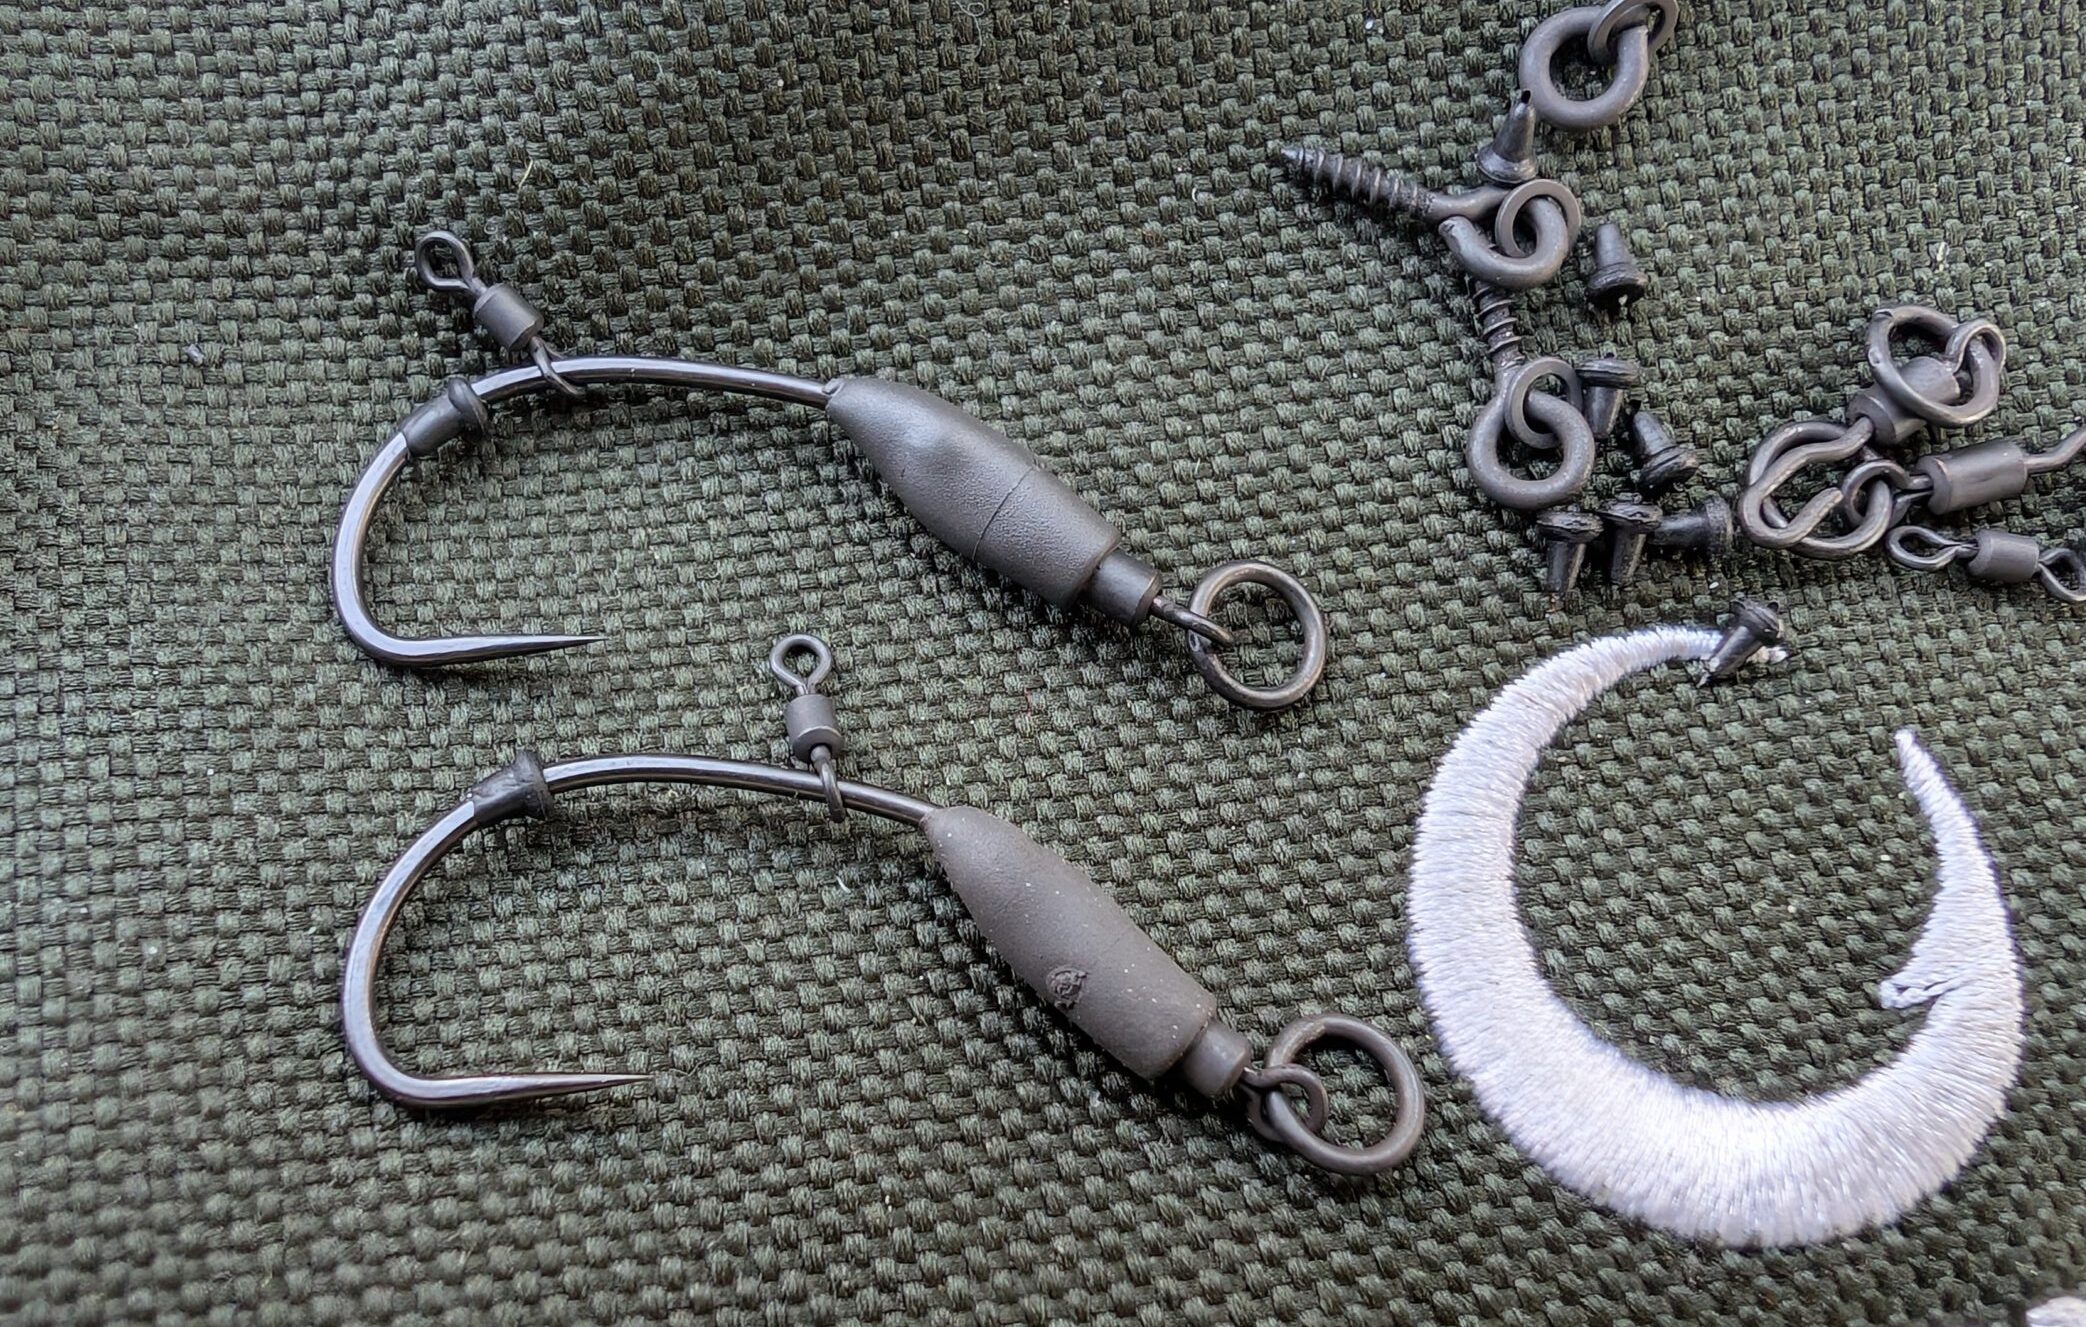
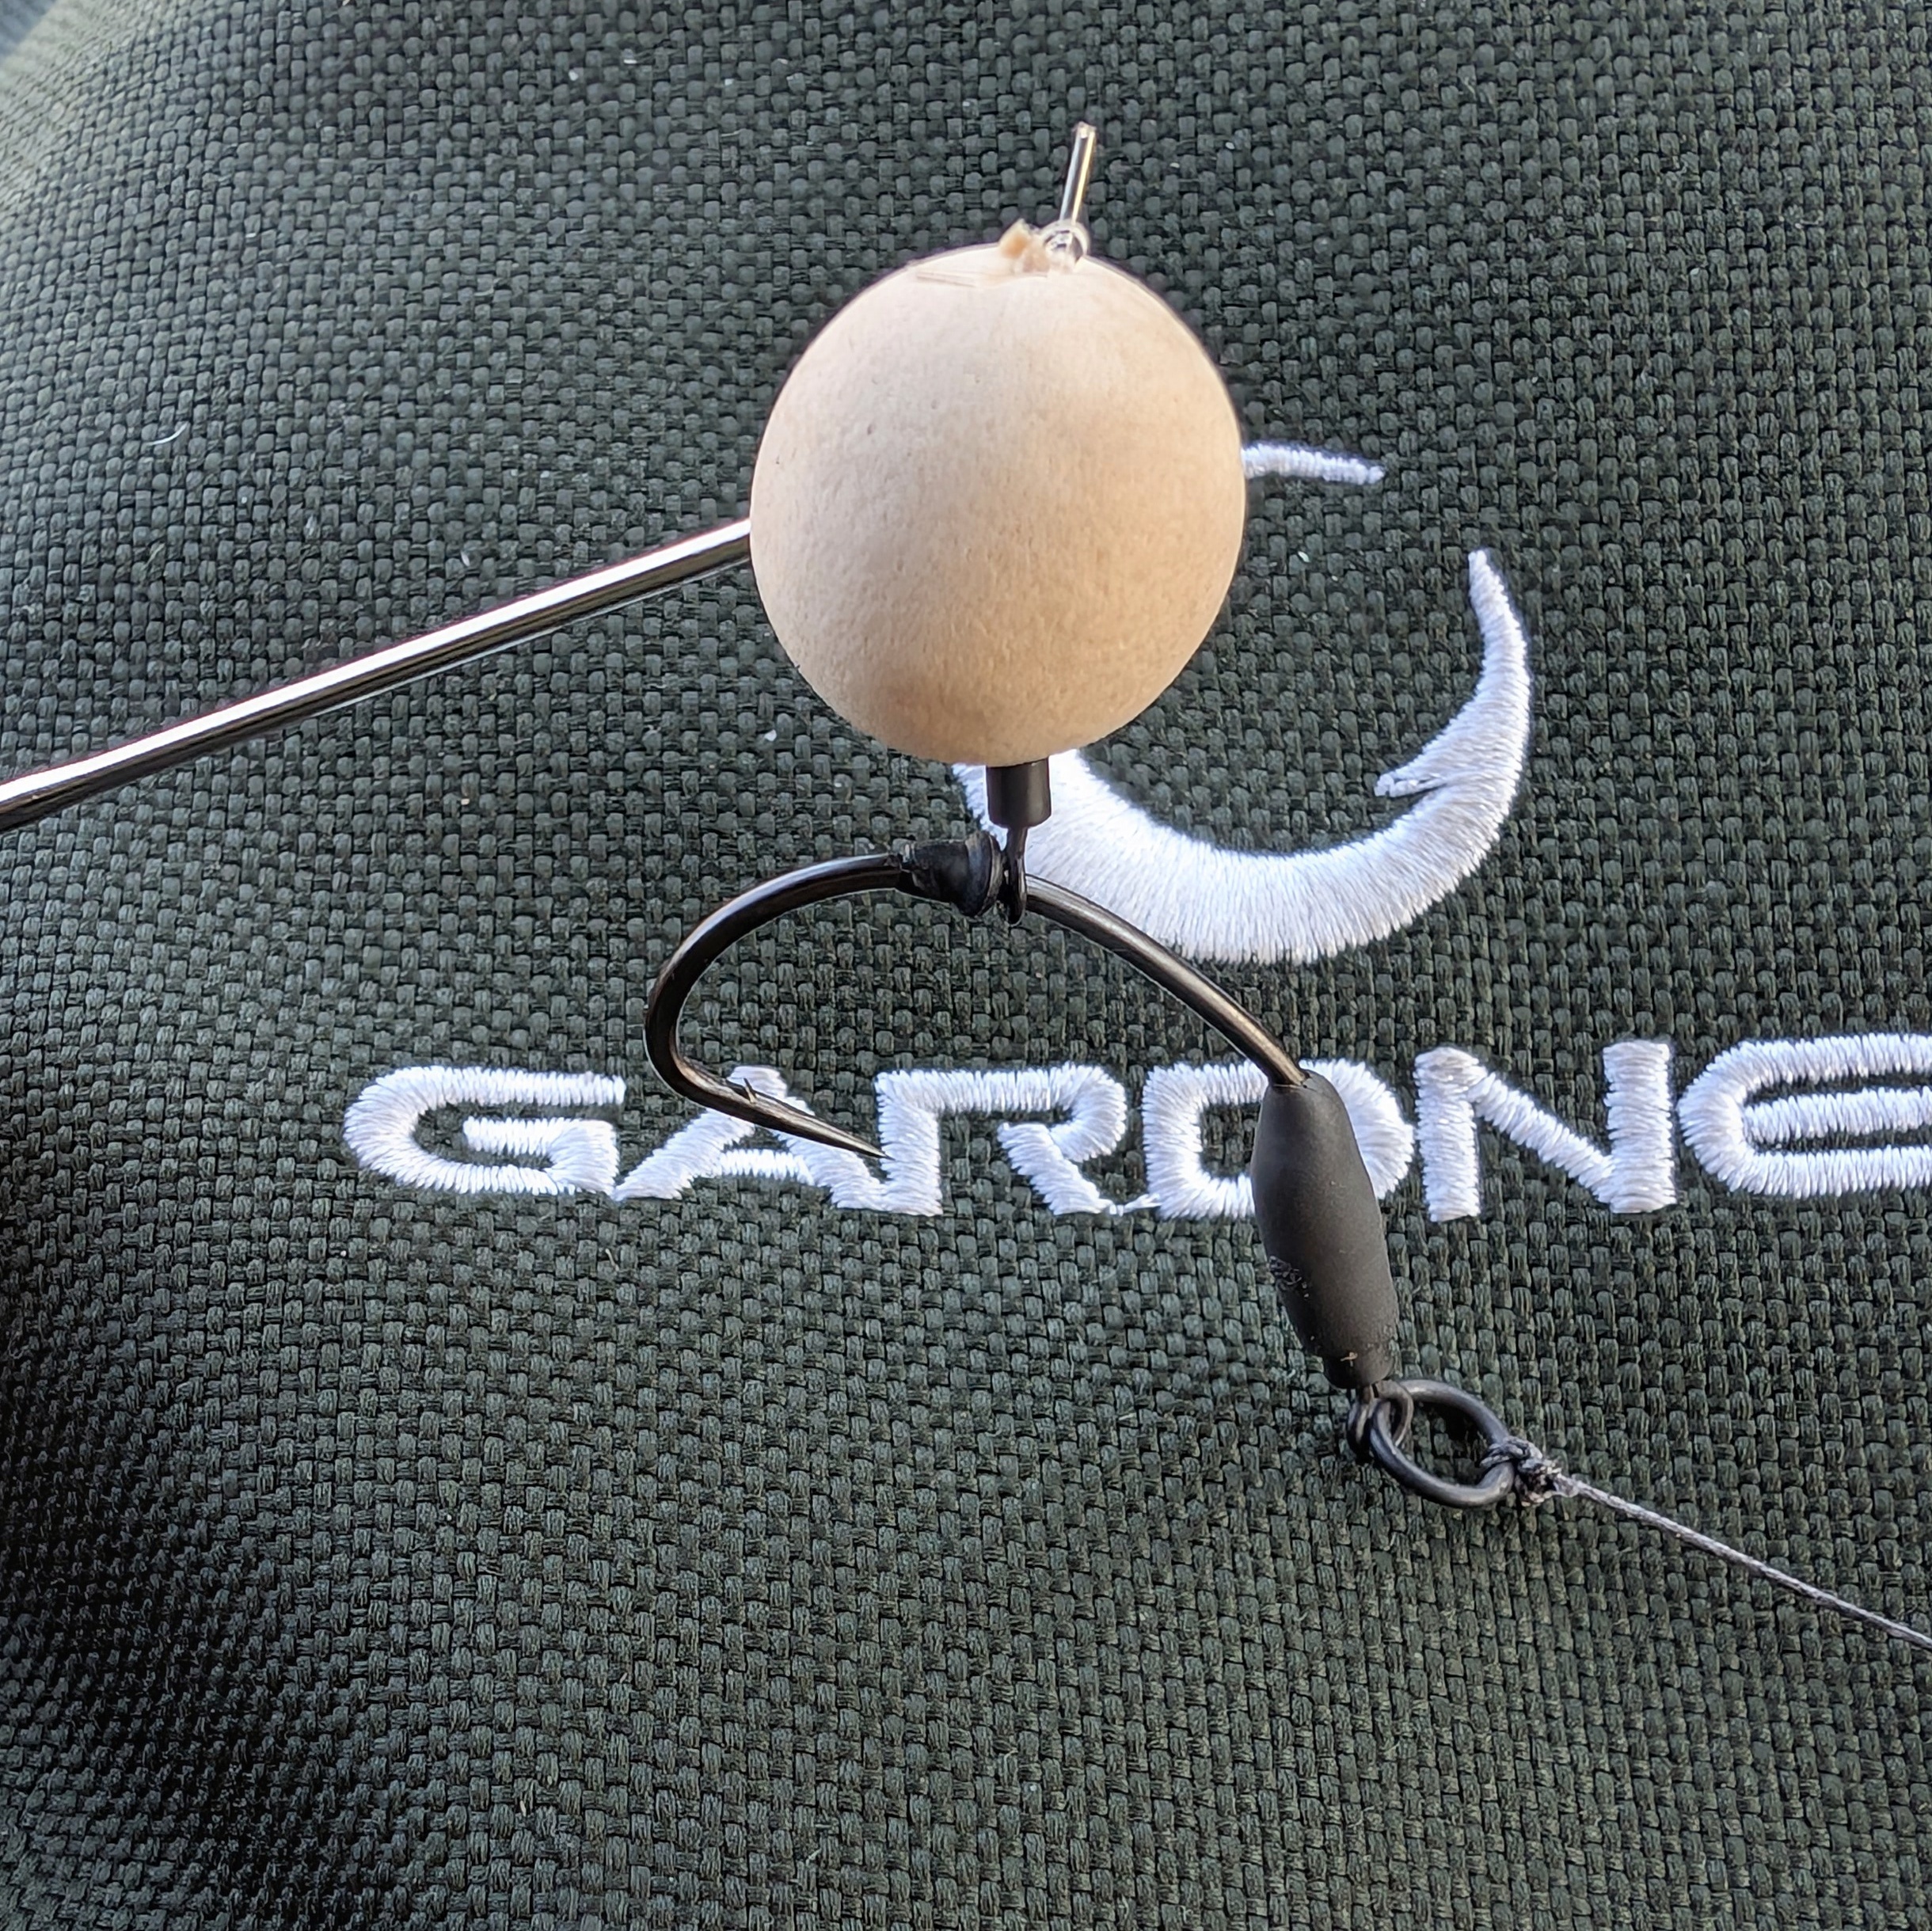
4) The next step is going to depend on your situation on what bait you will be using. If you are using a nice hard bait (say, a popup), then the Flexi Bait Screw is a good choice or go with the hook swivel for more options. Whichever you go with, first slide the bait mounting option on the shank and then the Covert Hook Stop. And thats it! Just connect the hook link of your choice with a nice simple, strong, knot like a palomar knot. This rig works well with both stiff and soft hooklinks depending on your situation.
Get your Gardner Ronnie Rig Kit at Big Carp Tackle now! Click here